Handmade Easy Thank You Card for Teacher
Teachers play a vital role in shaping the minds of students and guiding them towards a bright future. Expressing gratitude towards these educators is essential, and what better way to do it than with a handmade thank you card? A handmade card adds a personal touch and shows the teacher that their efforts are appreciated. In this article, we will guide you through the process of creating an easy yet meaningful thank you card for your teacher.
Section 1: Materials Needed
To get started on your handmade thank you card, gather the following materials:
1. Cardstock or thick paper: Choose a color that complements your design.
2. Scissors: A pair of sharp scissors will help you cut out shapes and trim edges.
3. Glue stick or adhesive tape: Use these to attach various elements to your card.
4. Markers or colored pencils: These will allow you to add color and personalize your message.
5. Decorative elements: Optional items such as stickers, ribbons, or buttons can enhance the card’s appearance.
Section 2: Designing Your Card
1. Choose a card size: Decide whether you want a standard-sized card or a smaller, more unique shape like a square or rectangle.
2. Fold the cardstock: Fold the paper in half to create the base of your card. Ensure that the fold is crisp and aligned.
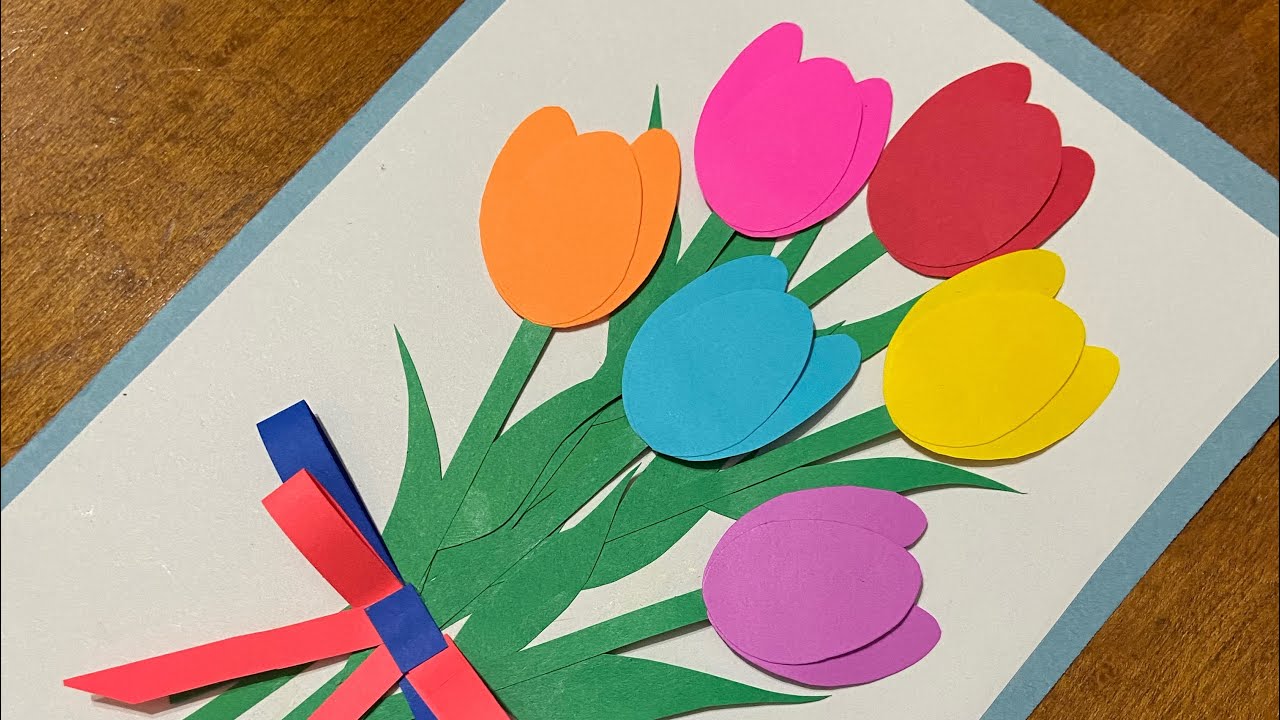
3. Decide on a theme: Consider your teacher’s interests or hobbies and incorporate them into the design. For example, if your teacher loves nature, you could create a card with floral or leaf motifs.
4. Sketch your design: Use a pencil to lightly sketch your design on the front of the card. This will help you plan the placement of various elements.
5. Cut out shapes: Using scissors, carefully cut out any shapes or patterns you want to include on the card. For example, if you’re creating a flower-themed card, cut out petals and leaves from colored paper.
6. Attach the shapes: Use a glue stick or adhesive tape to attach the cut-out shapes to the front of the card. Ensure that they are securely fastened.
7. Add color: Use markers or colored pencils to add color to your design. You can also write your thank you message in vibrant hues to make it stand out.
8. Personalize the inside: Write a heartfelt message inside the card, expressing your gratitude and appreciation for your teacher’s guidance and support.
Section 3: Adding Finishing Touches
1. Decorative elements: If desired, add decorative elements such as stickers, ribbons, or buttons to further enhance the card’s appearance. However, be mindful not to overcrowd the design.
2. Neatness and precision: Pay attention to details and ensure that your card looks neat and well-crafted. Trim any uneven edges or excess glue for a polished finish.
3. Consider a pop-up element: For an extra special touch, create a pop-up element inside the card. This could be a small cut-out shape that pops up when the card is opened, adding an element of surprise.
4. Personalize the envelope: To make the thank you card even more special, consider decorating the envelope as well. You can add a small drawing or write a message on the front to make it stand out.
Section 4: Presentation and Delivery
1. Presentation matters: Take pride in presenting your handmade thank you card in the best possible way. Ensure that it is clean, free from smudges, and neatly folded.
2. Timing is key: Choose an appropriate time to present the card to your teacher. It could be during Teacher Appreciation Week, at the end of the school year, or on a special occasion like their birthday.
3. Express your gratitude: When giving the card, express your gratitude verbally as well. Let your teacher know how much their guidance and support have meant to you.
4. Consider a group effort: Encourage your classmates to join in and create their own handmade thank you cards for the teacher. Presenting a collection of cards will make the gesture even more impactful.
Conclusion:
A handmade thank you card is a thoughtful way to express gratitude towards your teacher. By following these simple steps, you can create a personalized card that will show your appreciation for their hard work and dedication. Remember, it’s not just about the final product but also the effort and sentiment behind it. So, gather your materials, let your creativity flow, and make your teacher’s day with a heartfelt thank you card.